Most techniques and things I do that even border on a "signature style" have resulted as a once experimental notion during a family or friends project, or from spare time in the shop spent tinkering around with left over materials. The hammered copper inlays I've been doing as of late are no exception to this. Not to say it hasn't been done before, I'm sure it has, but I hadn't ever seen it, and thought it could be cool. And I just happened to have a sheet of copper, as well as some copper wire to play with, so why not!
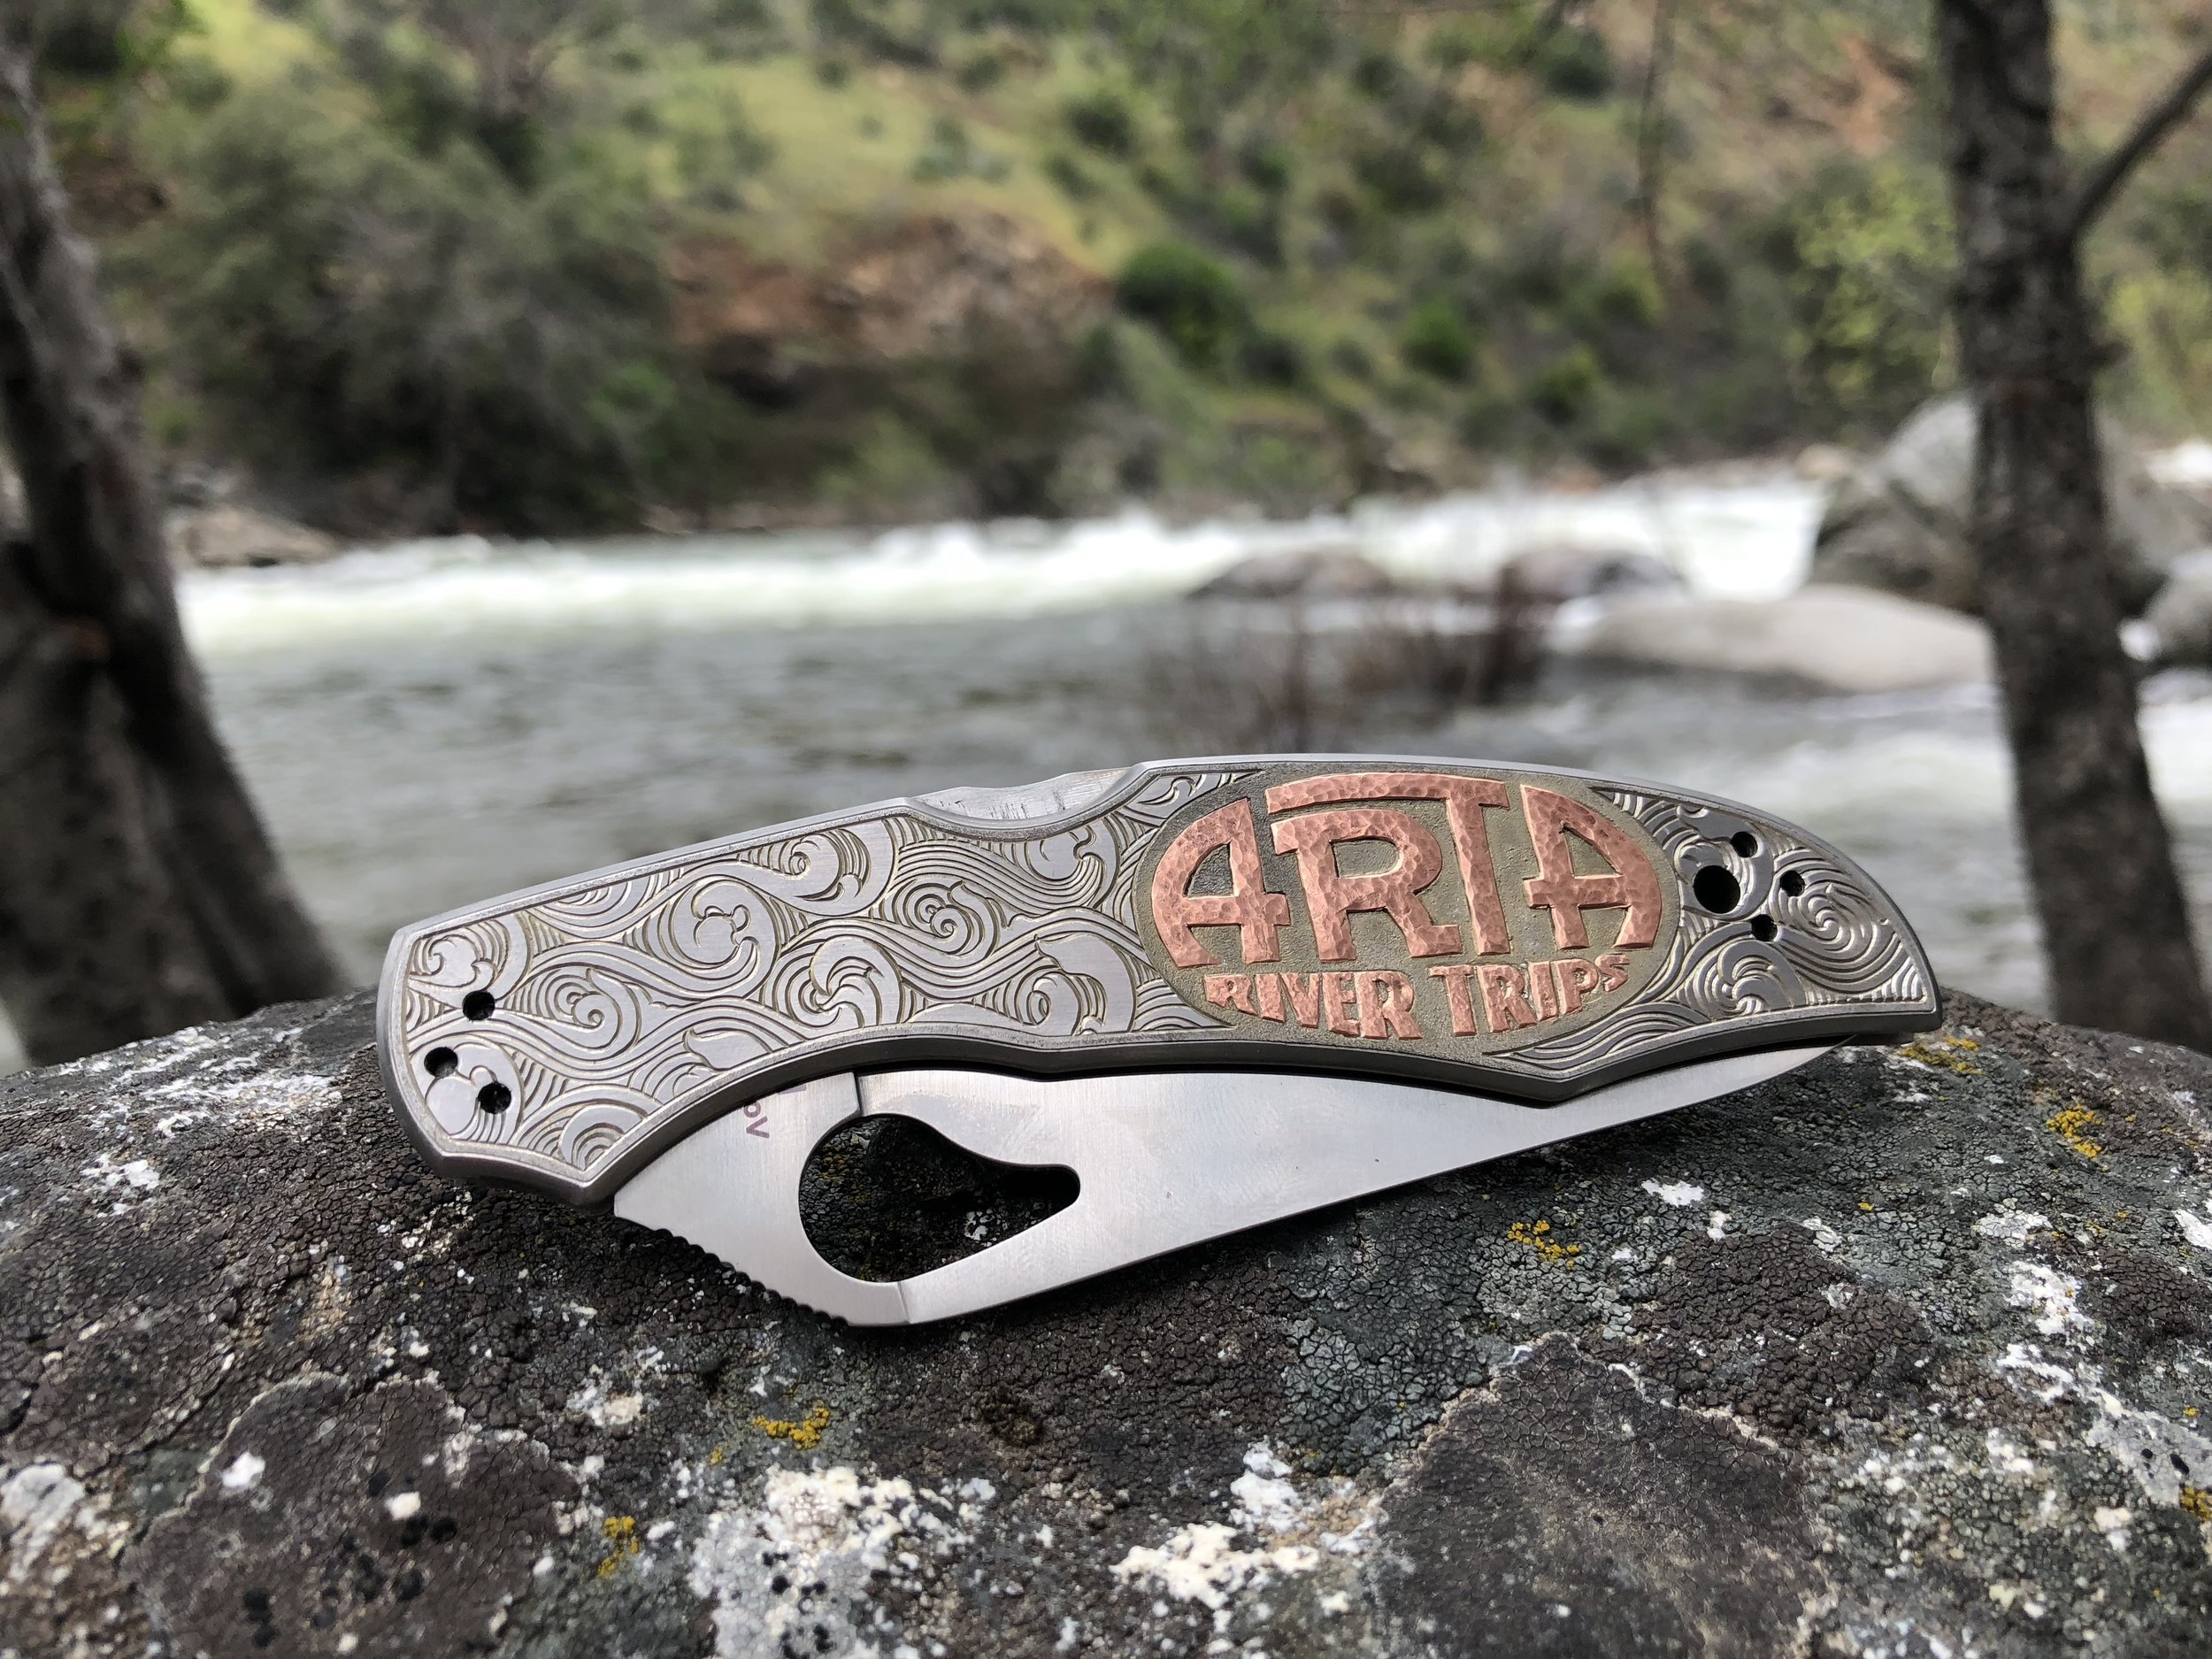
The first one I created was the Arta River trips knife. This was a more personal project for a dear friend of my husband, so I had that extra creative freedom that comes with the "family discount" 😂. The large ARTA letters, I did in copper sheet, and the smaller River Trip letters were done with wire. The only problem was, the copper sheet I had on hand was far too thick for sheet inlay. So...what to you do when you live in the woods in the middle of nowhere and don't have the correct thickness material or a rolling mill? Go viking on it! Hammers, a hydraulic press in the equipment yard, some plates of steel to squish it between, an anvil, and a torch,...because, any reason to use a torch is a good reason. After a couple hours of bashing around on the copper, courtesy of my husband, the copper was acceptable, and might I add exceptionally consistent in thickness despite our crude techniques.
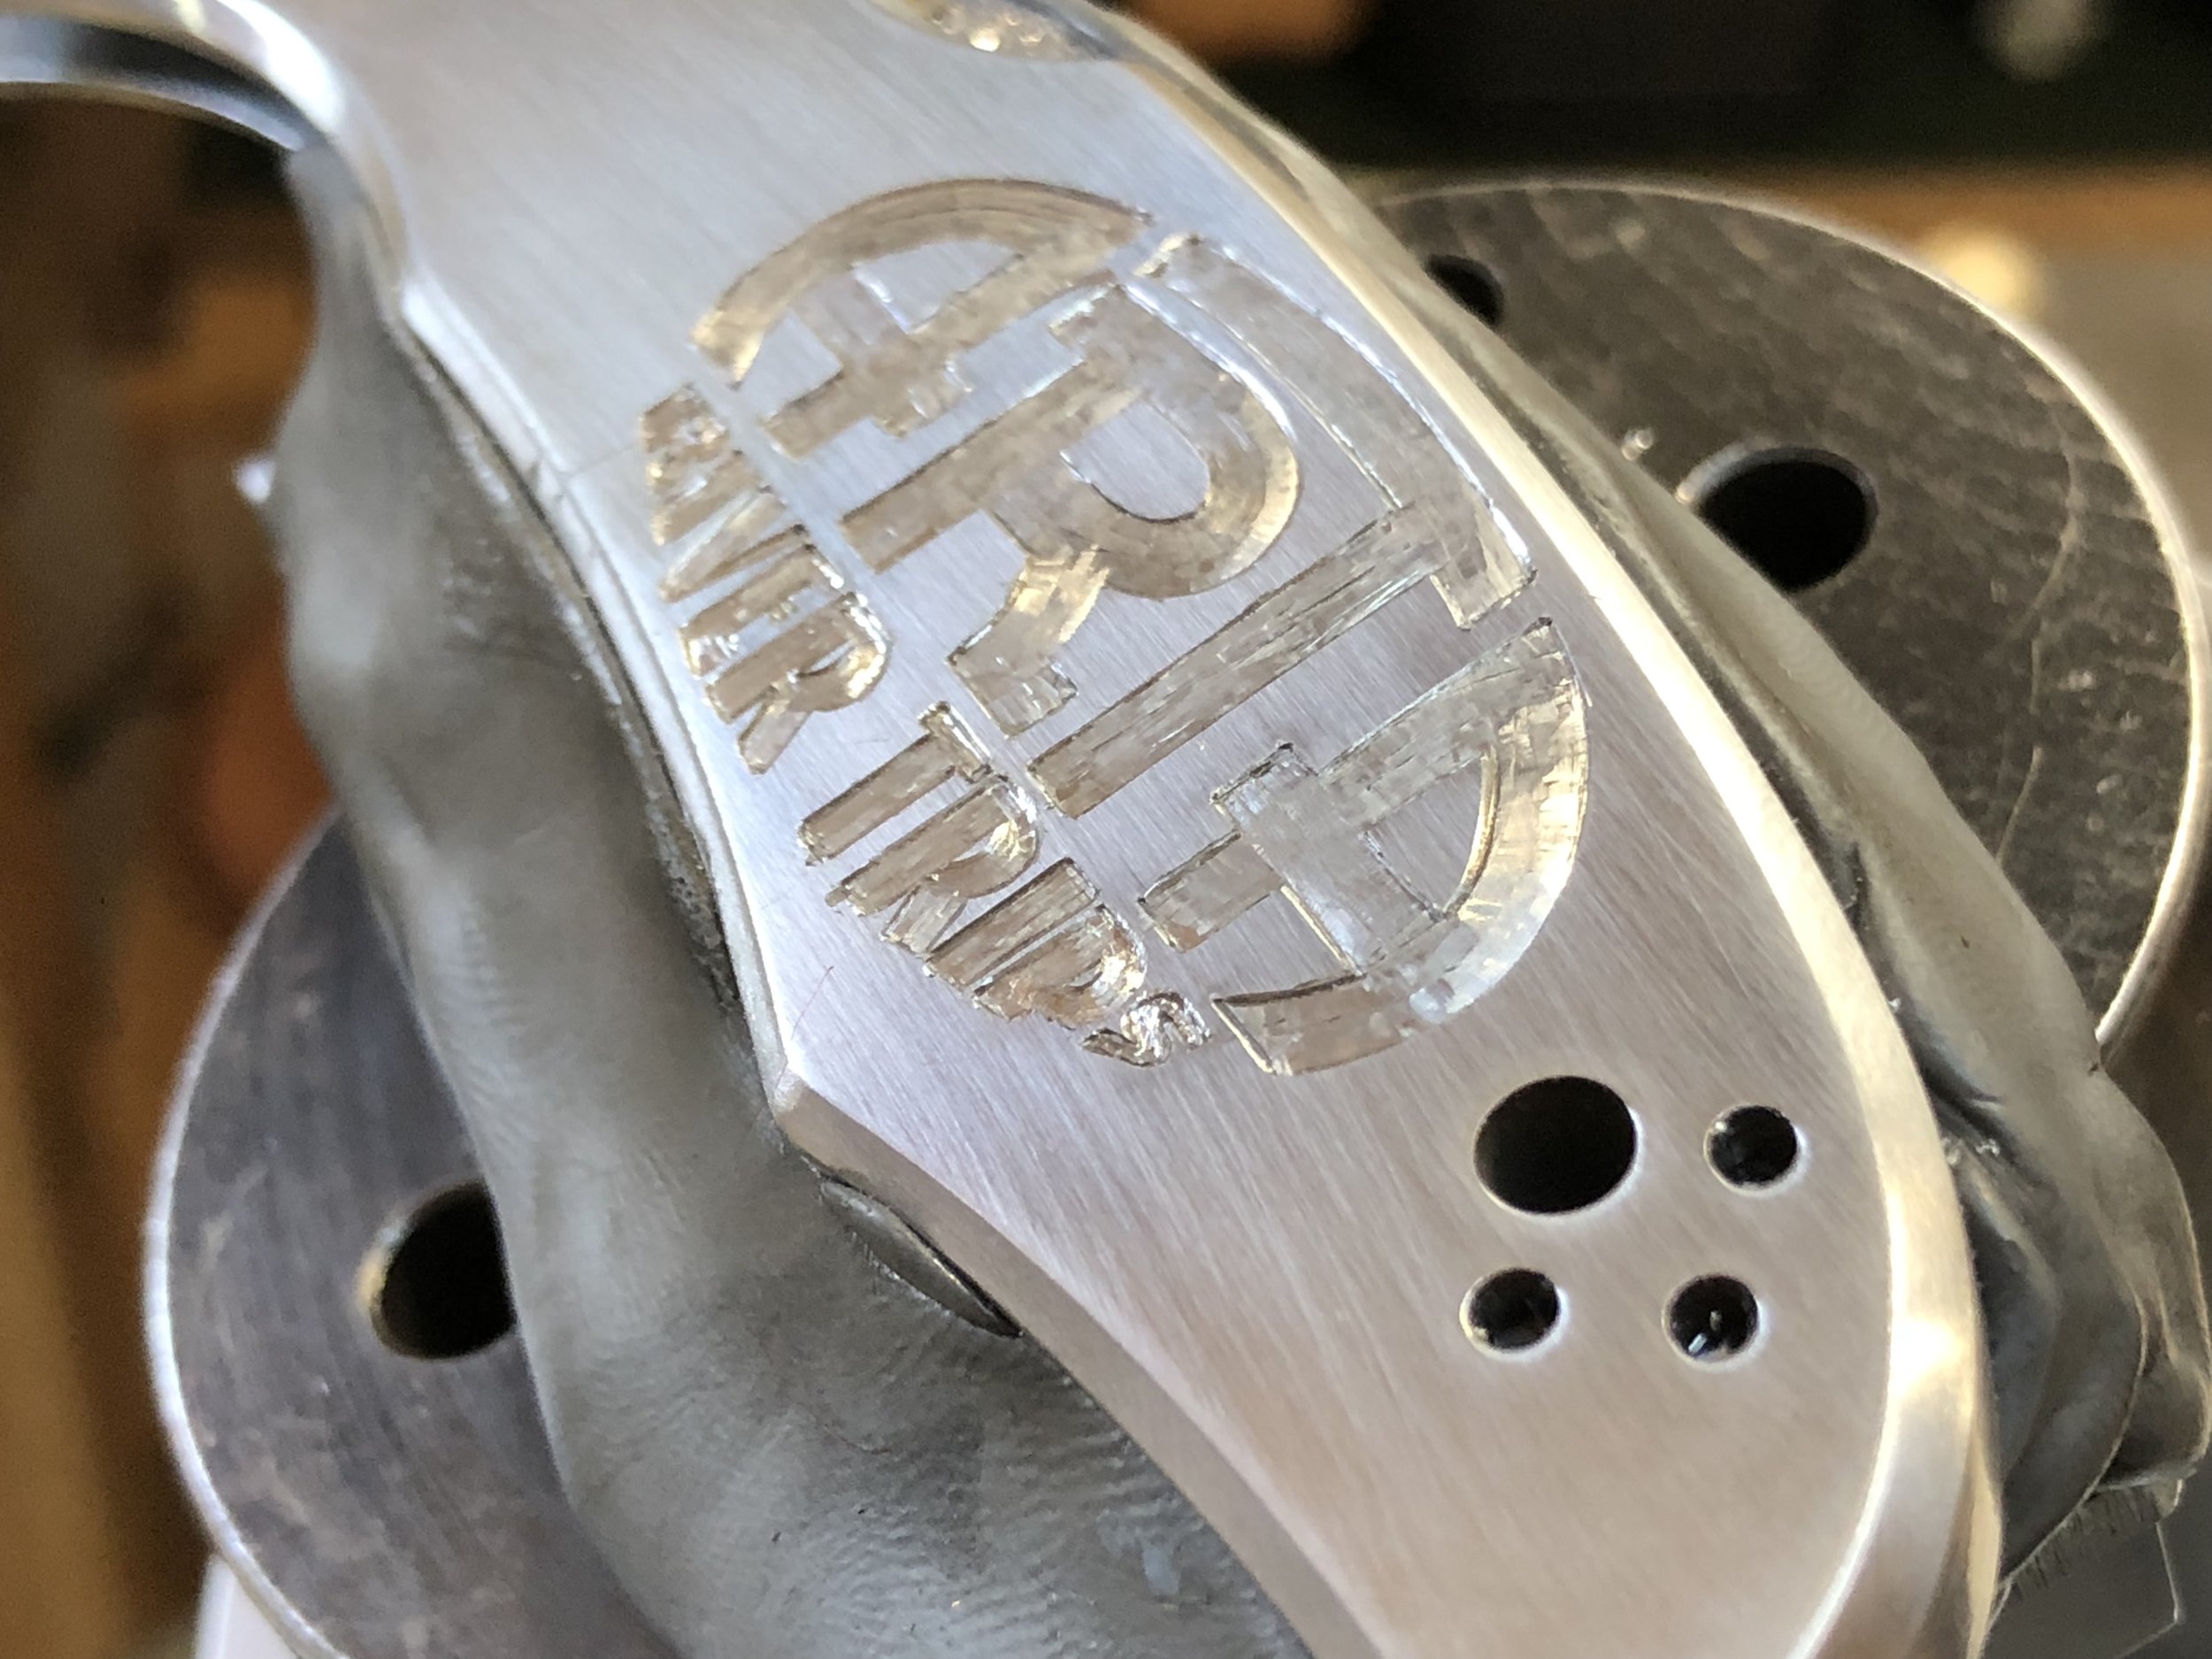
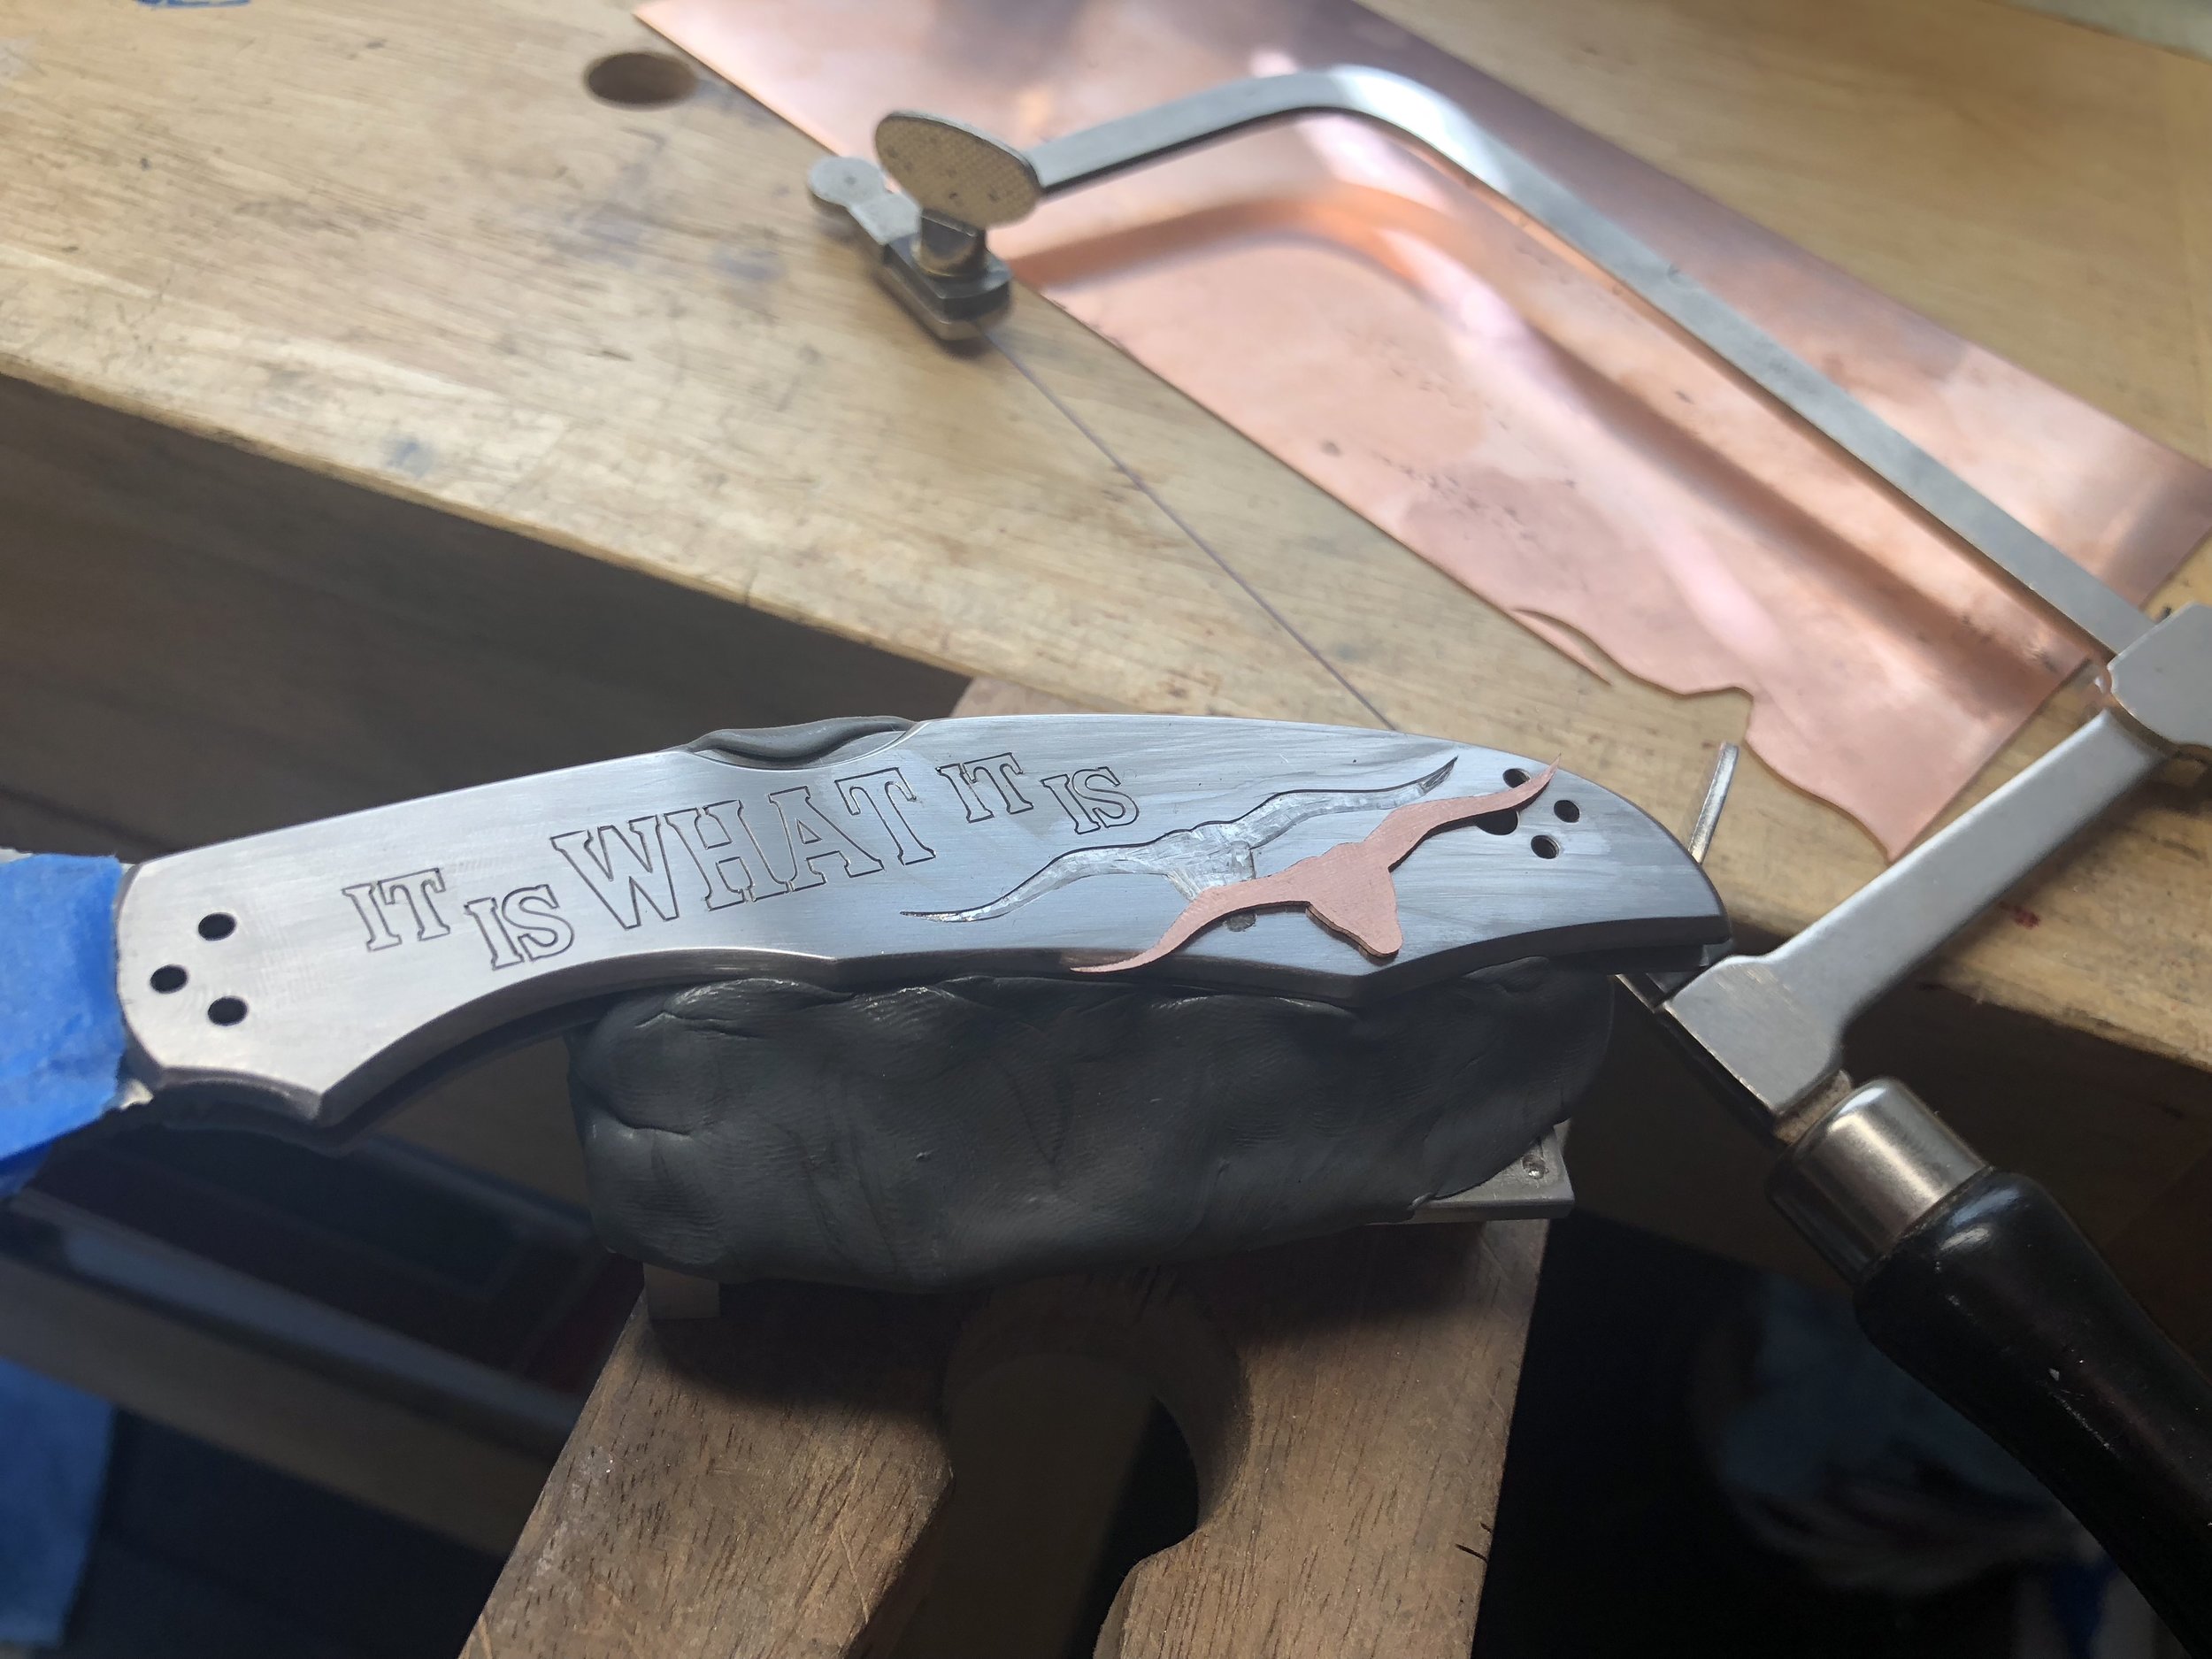
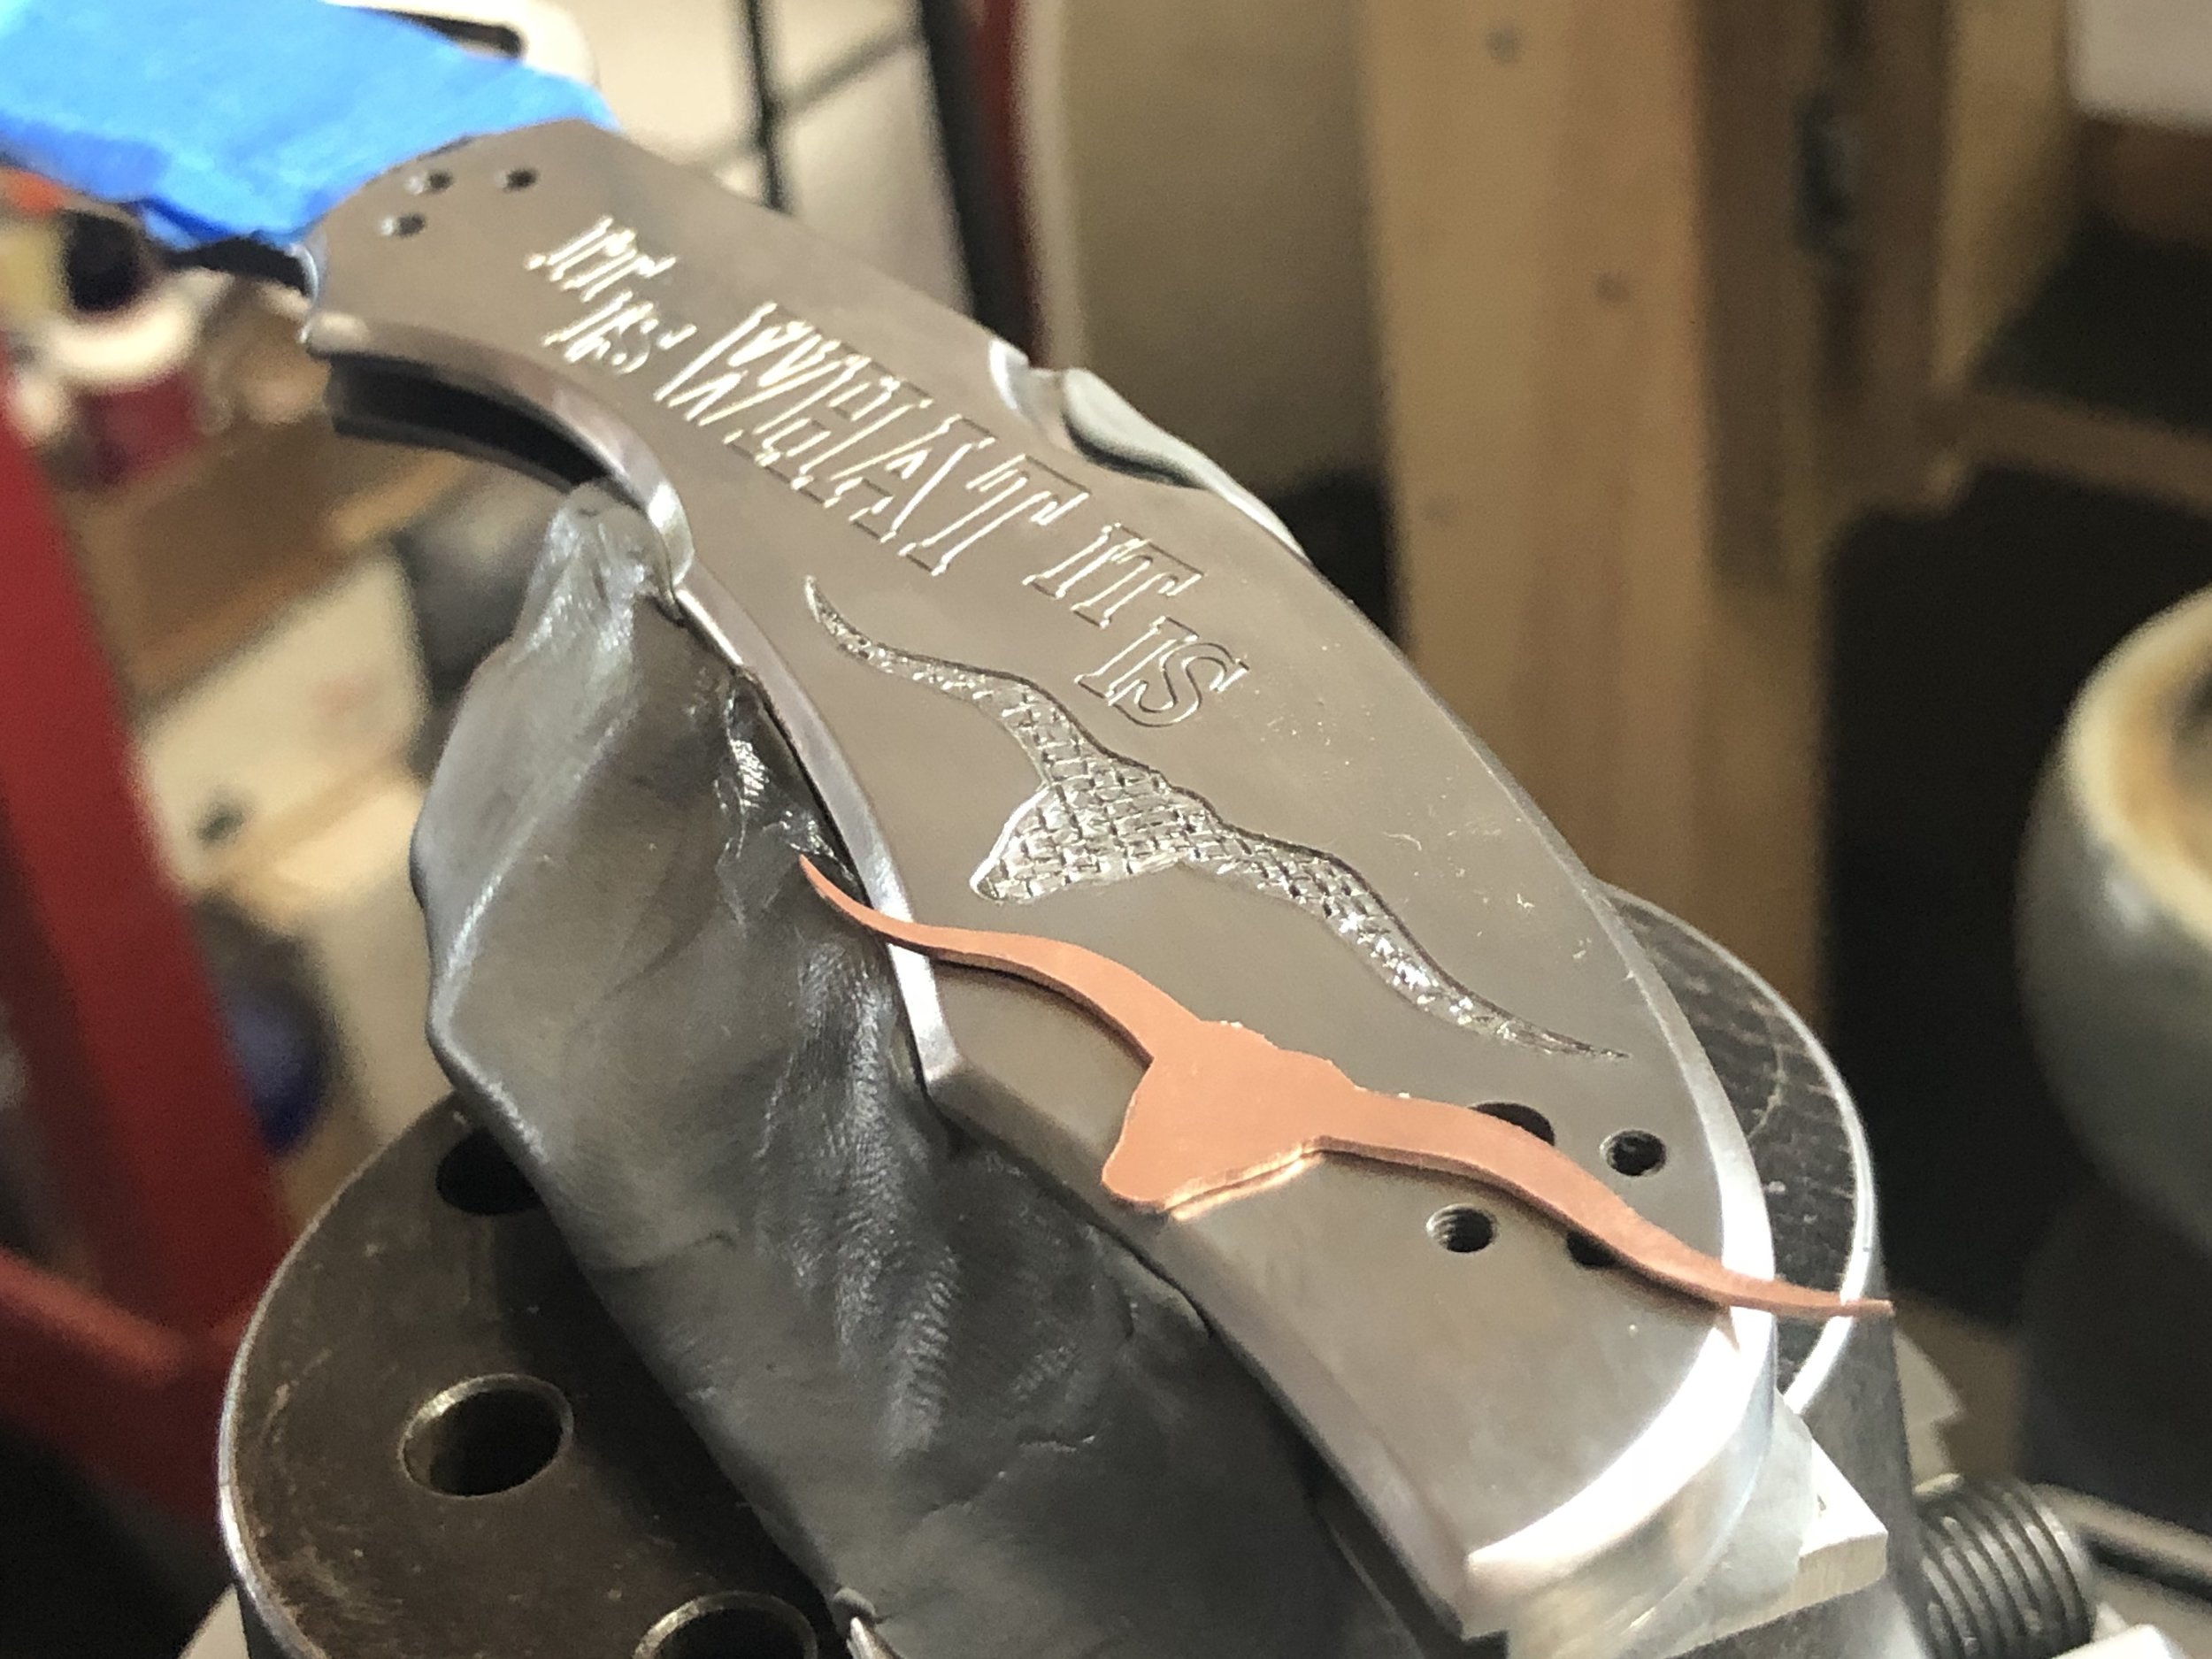
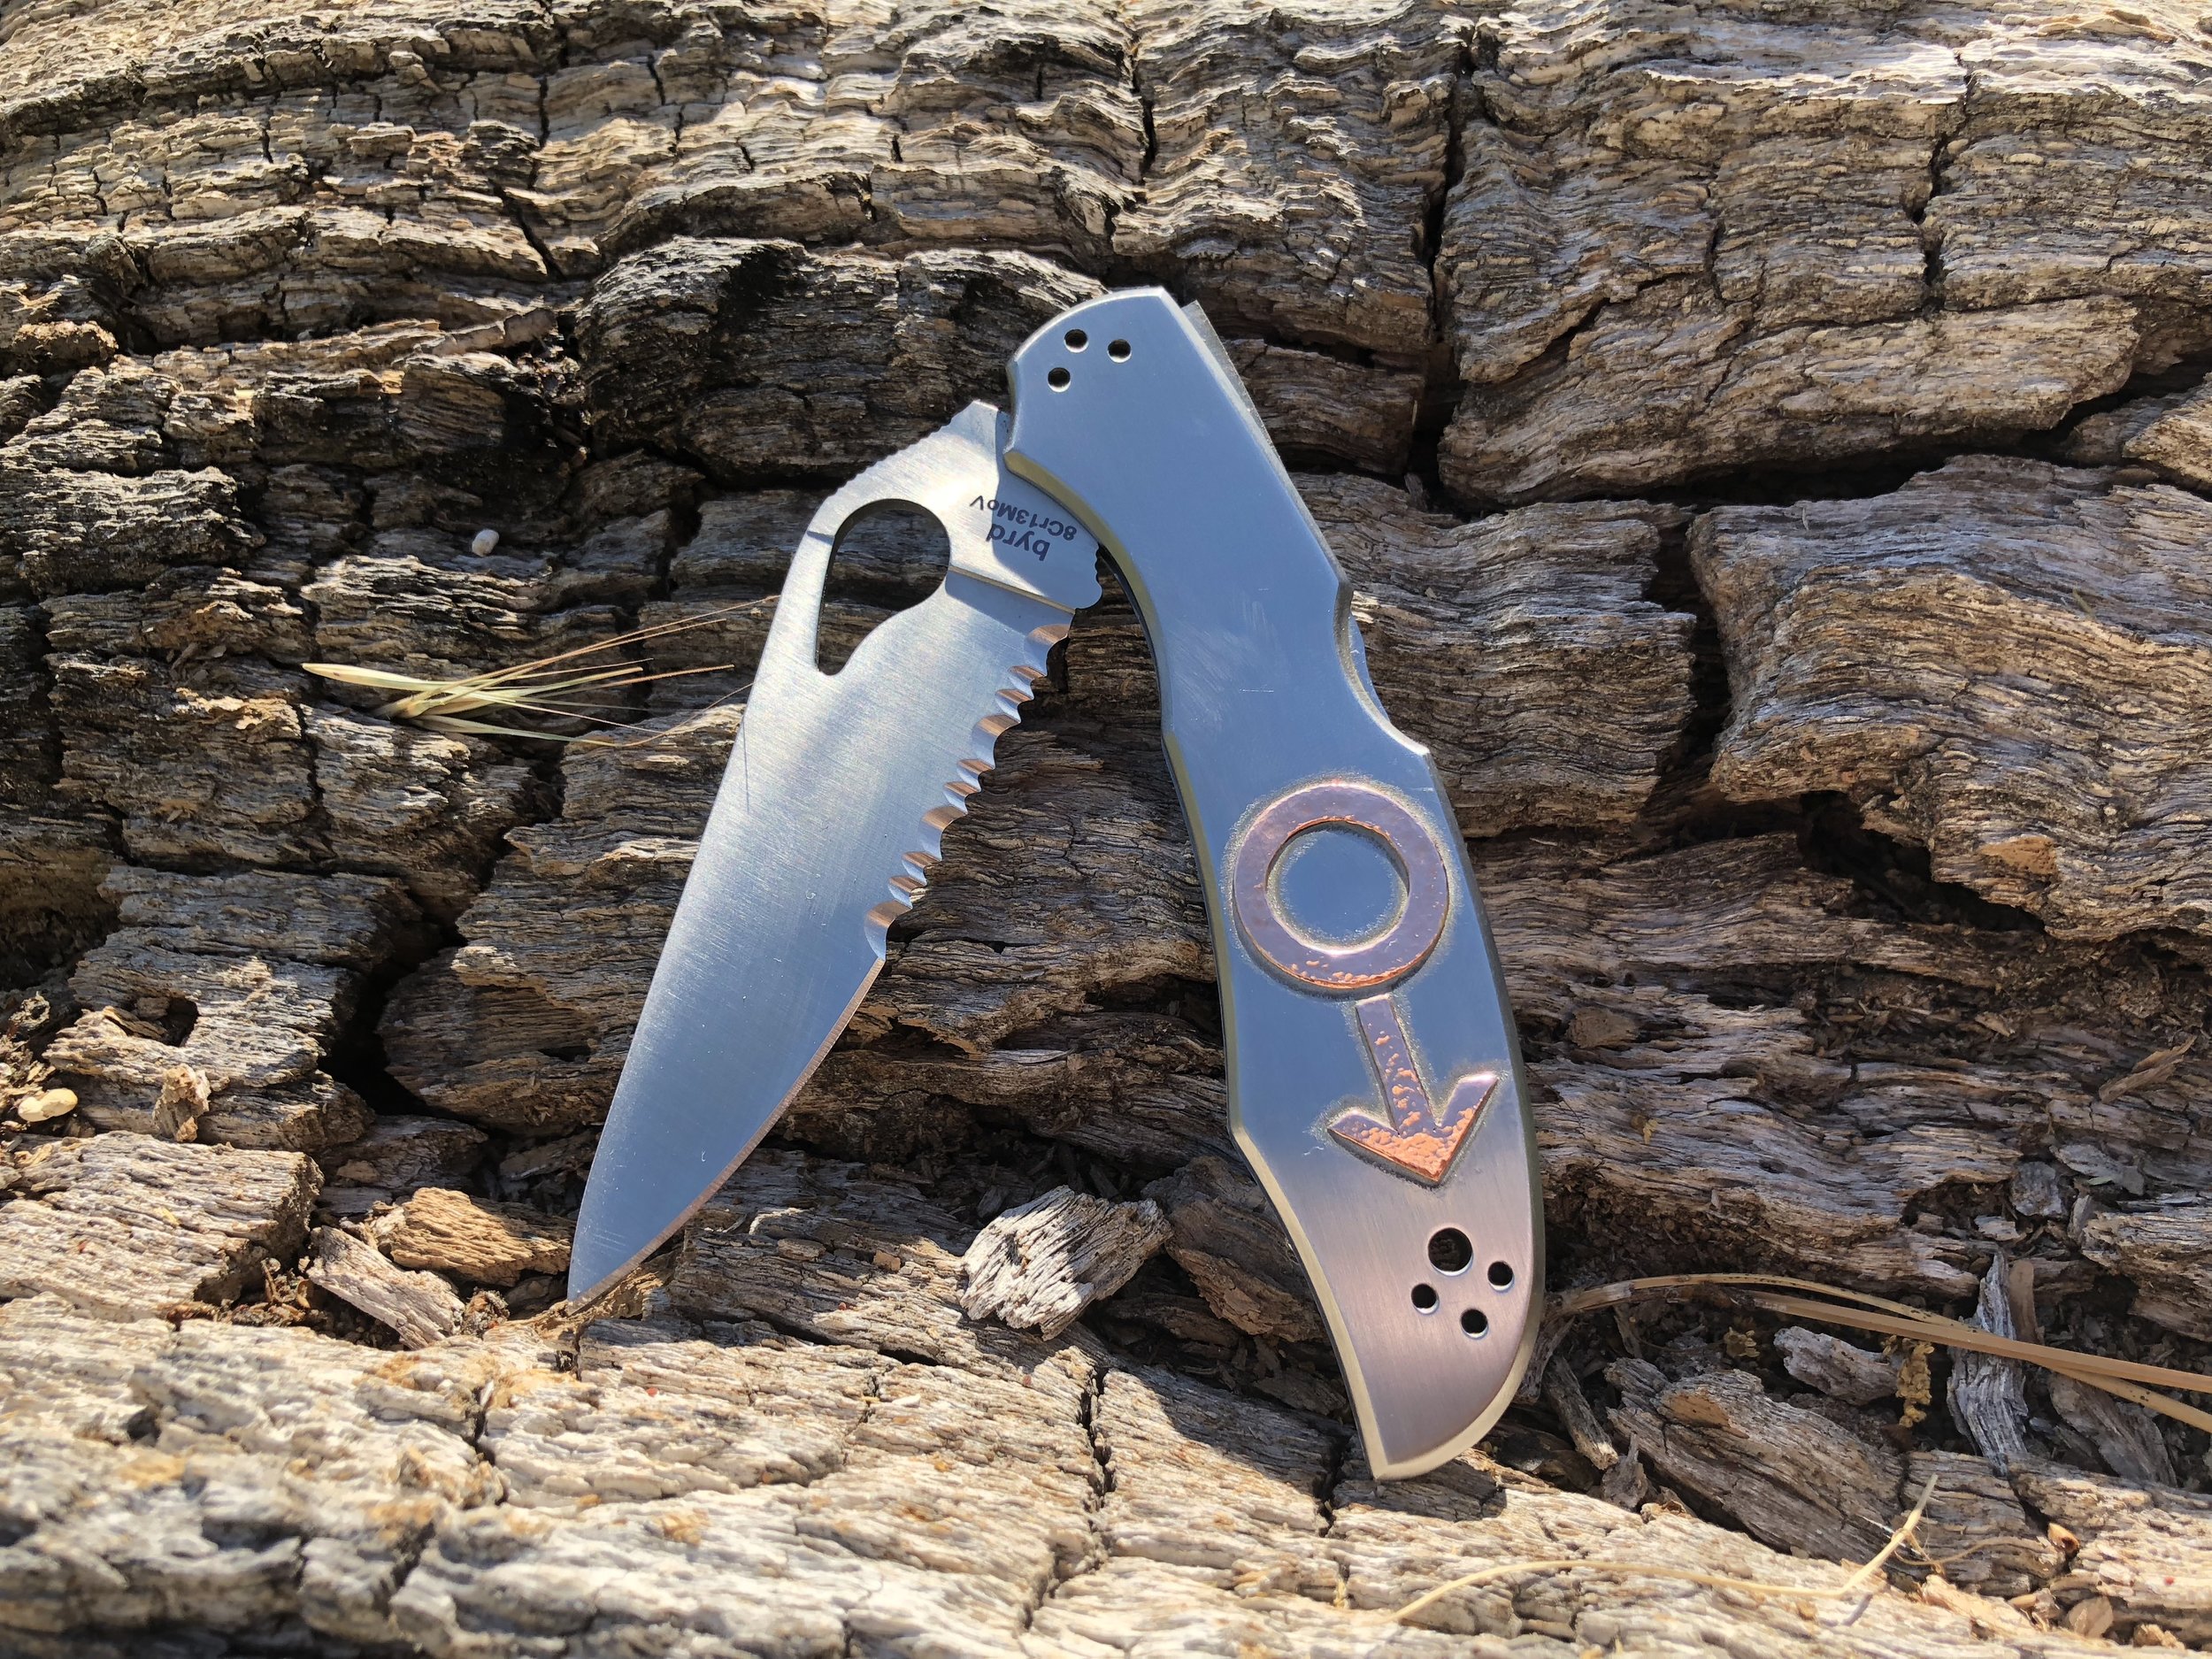
Once I got the cavities excavated and the teeth created, the inlay went swimmingly after a bit of mods to the "teeth" to make them a bit heartier than they usually are for my finer work. The small letters with wire were a beast at best, and a lesson that I'll be sticking to larger spaces if possible and sheet for this technique when using copper as the inlay material. I also made several different tools for the pneumatic handpiece to create the hammered look, but after doing about 3-4 knives using this technique, I've decided there's no substitute for an actual hammer on the copper, plus it's much more tactilely pleasing to create the texture that way. One must be very careful not to ping and damage the surrounding steel though.
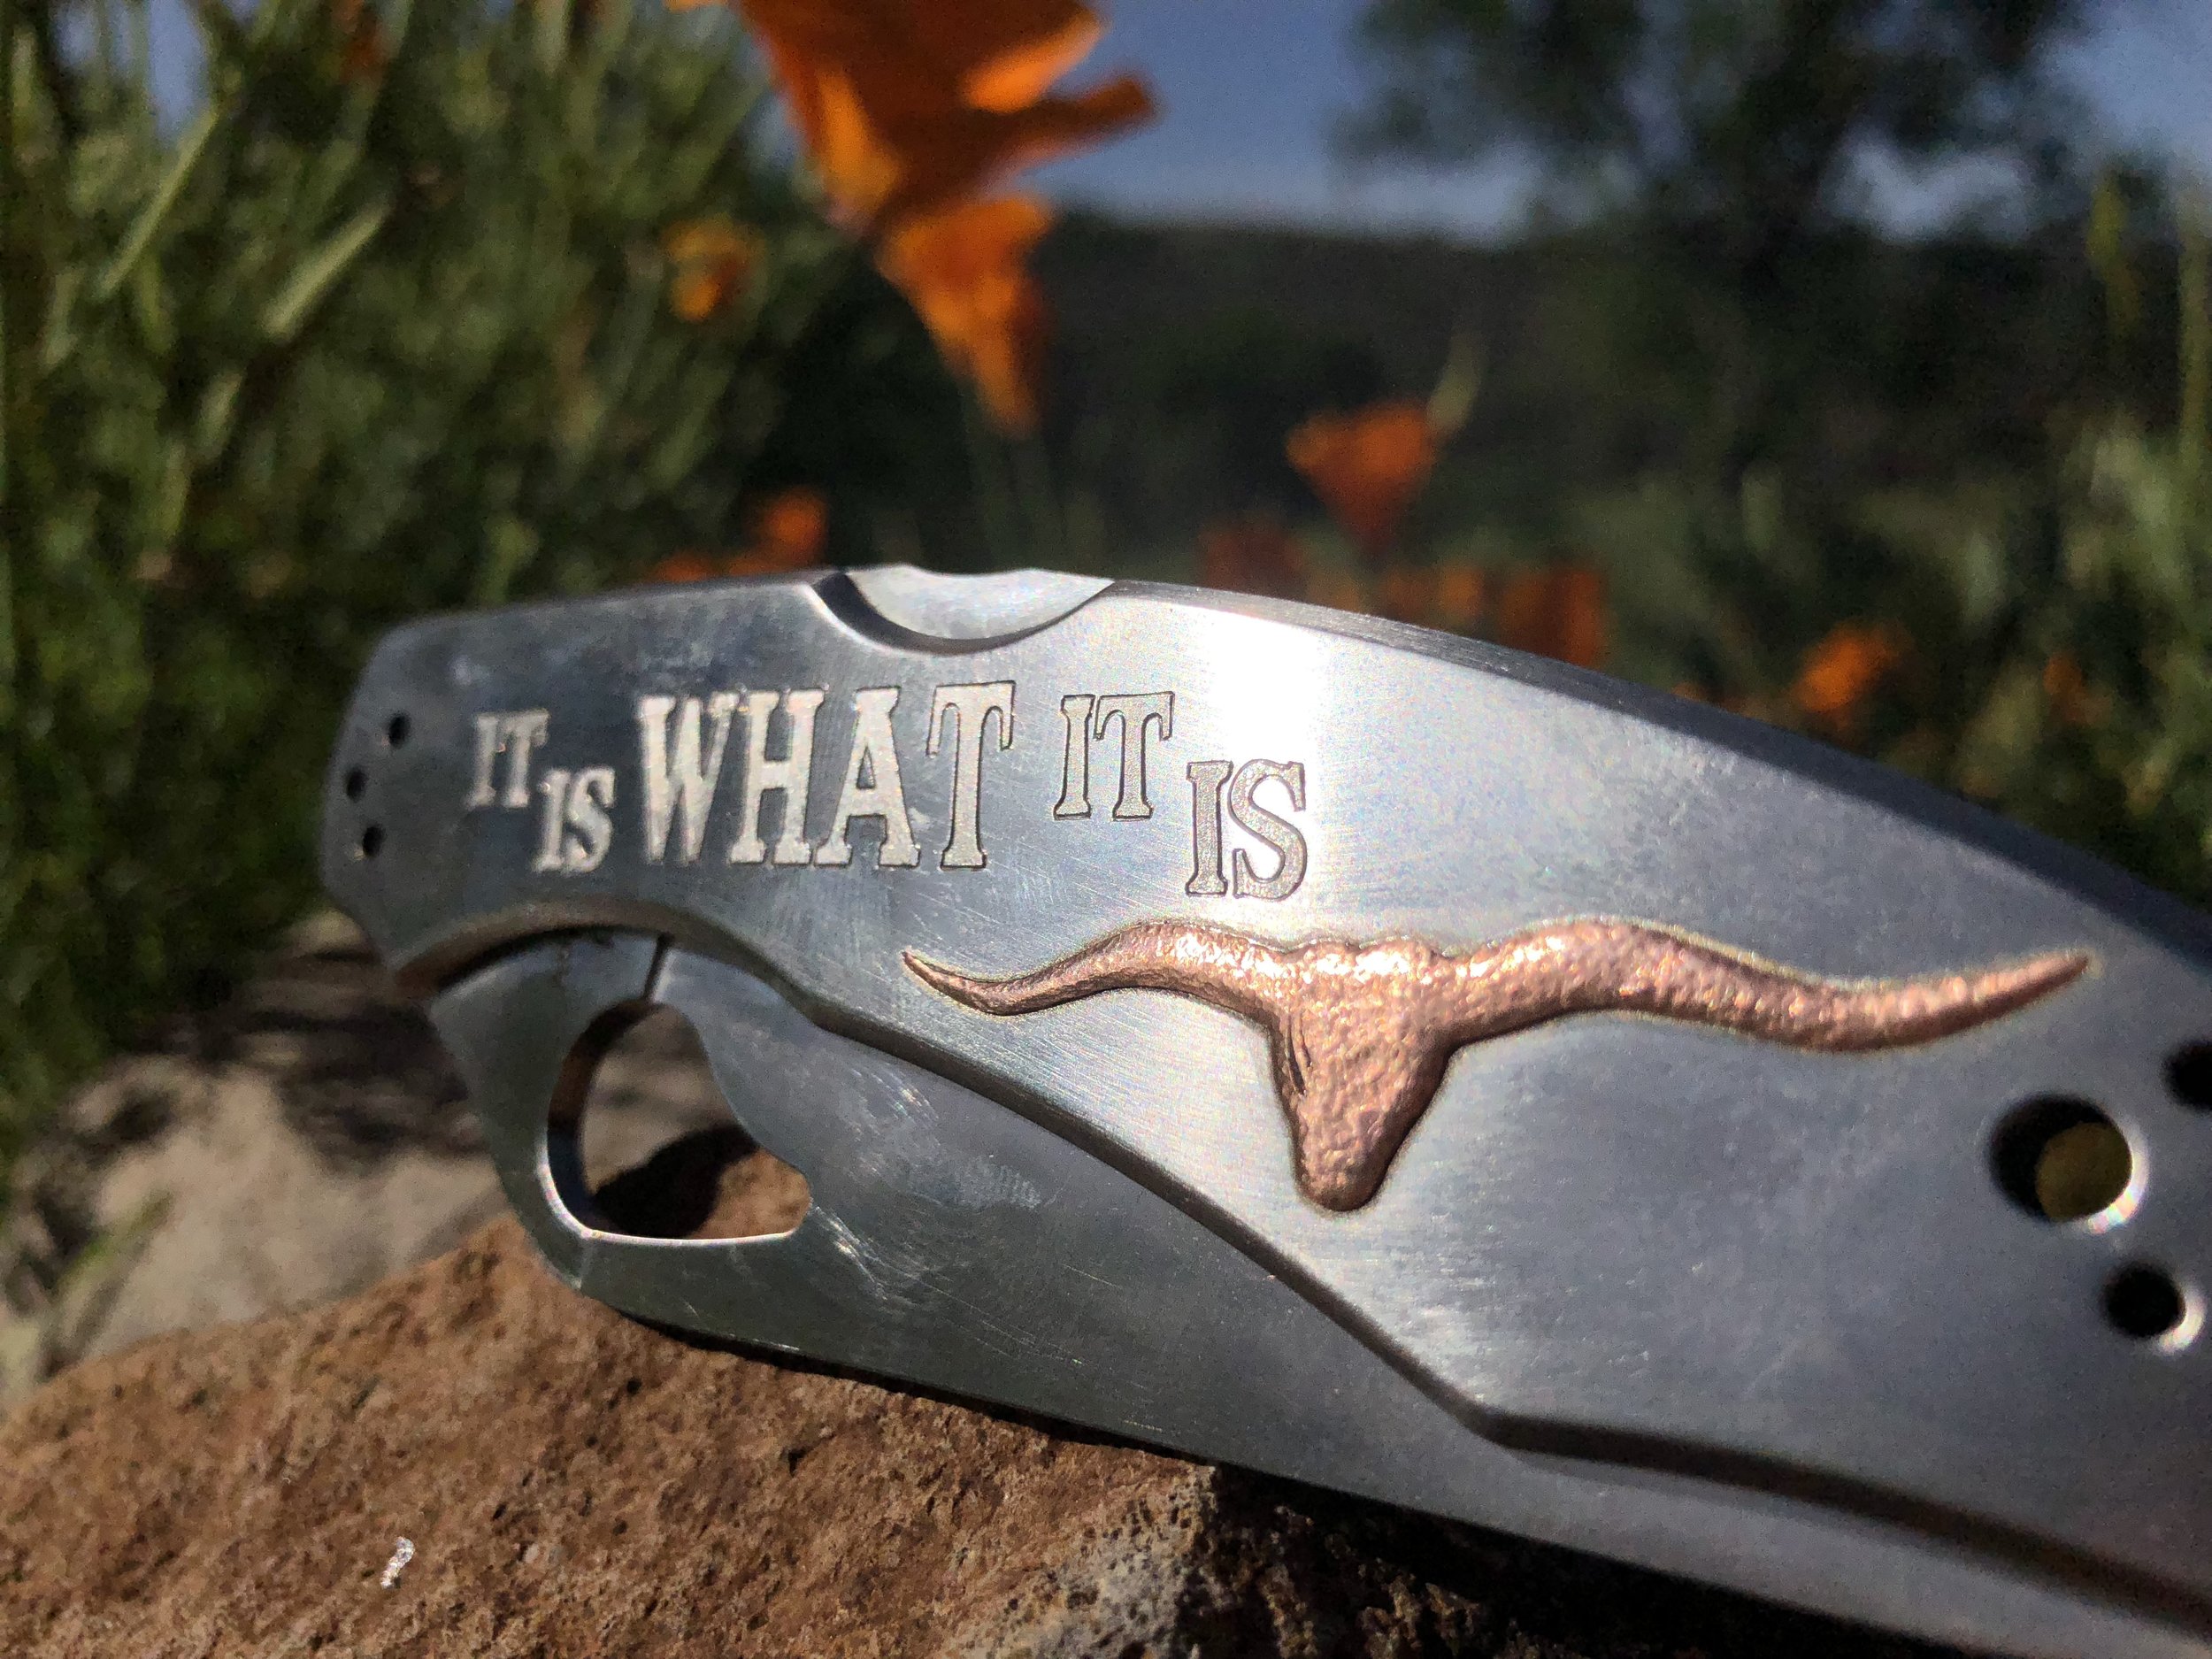
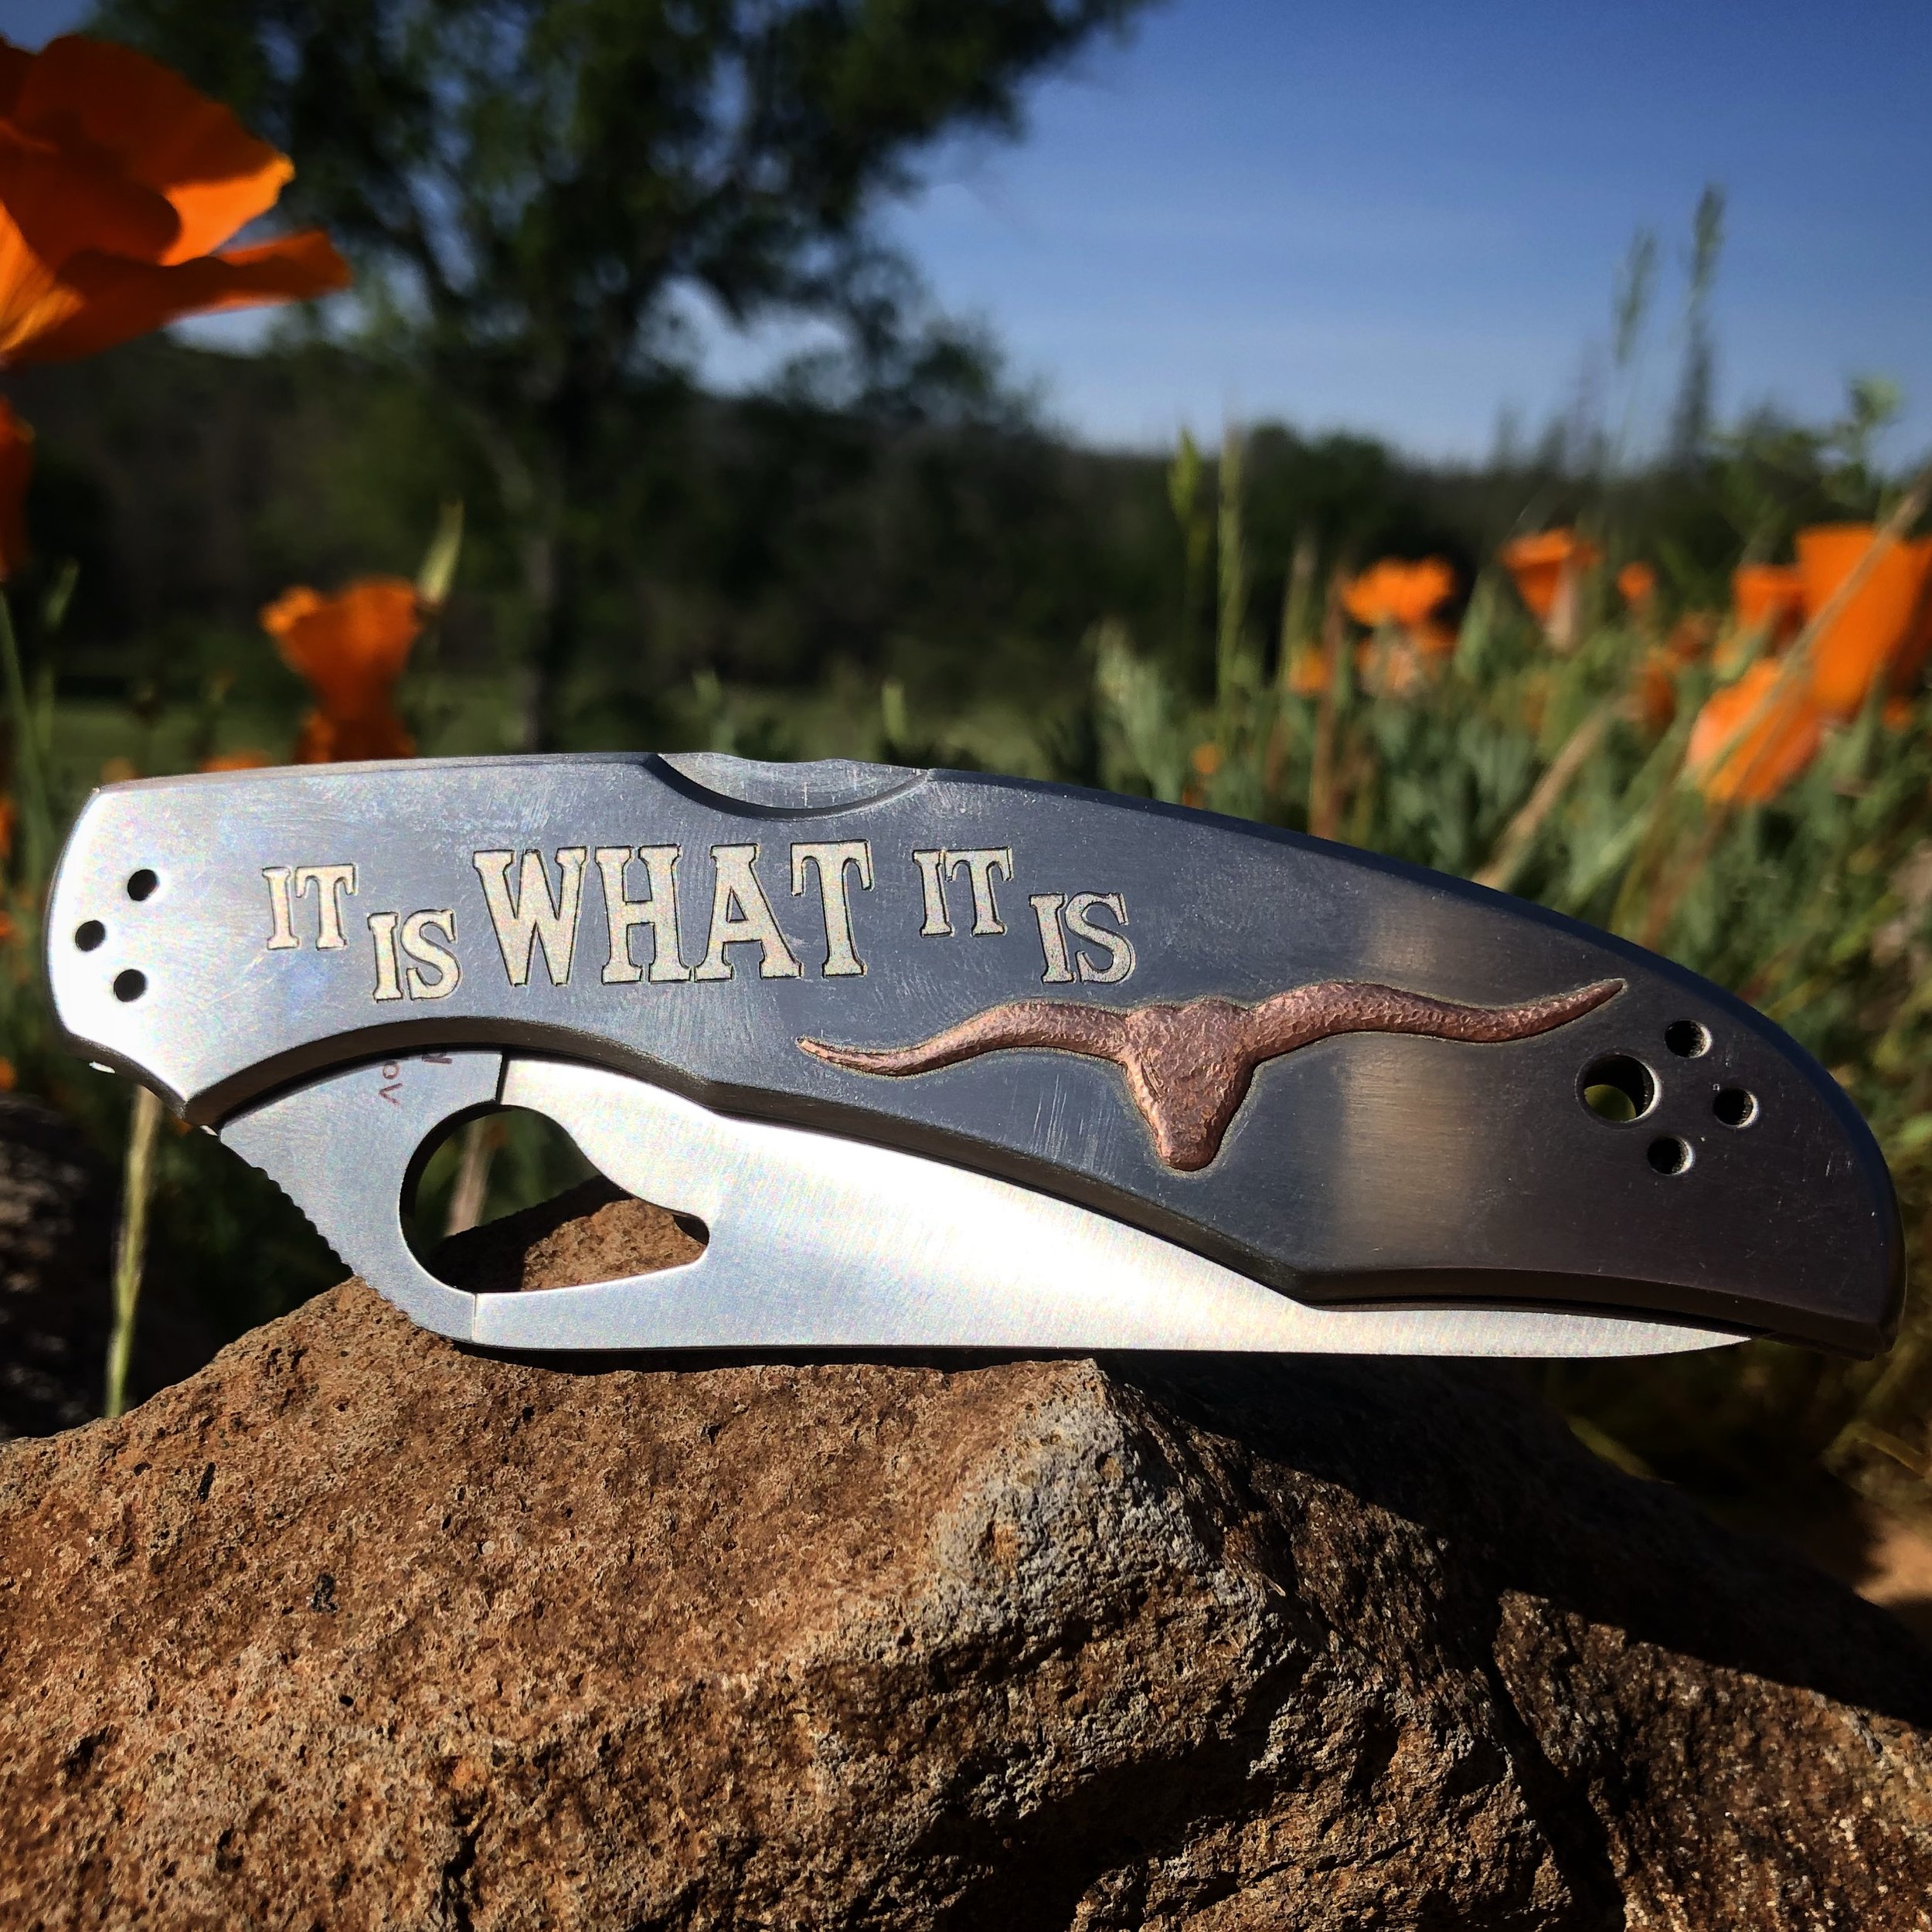
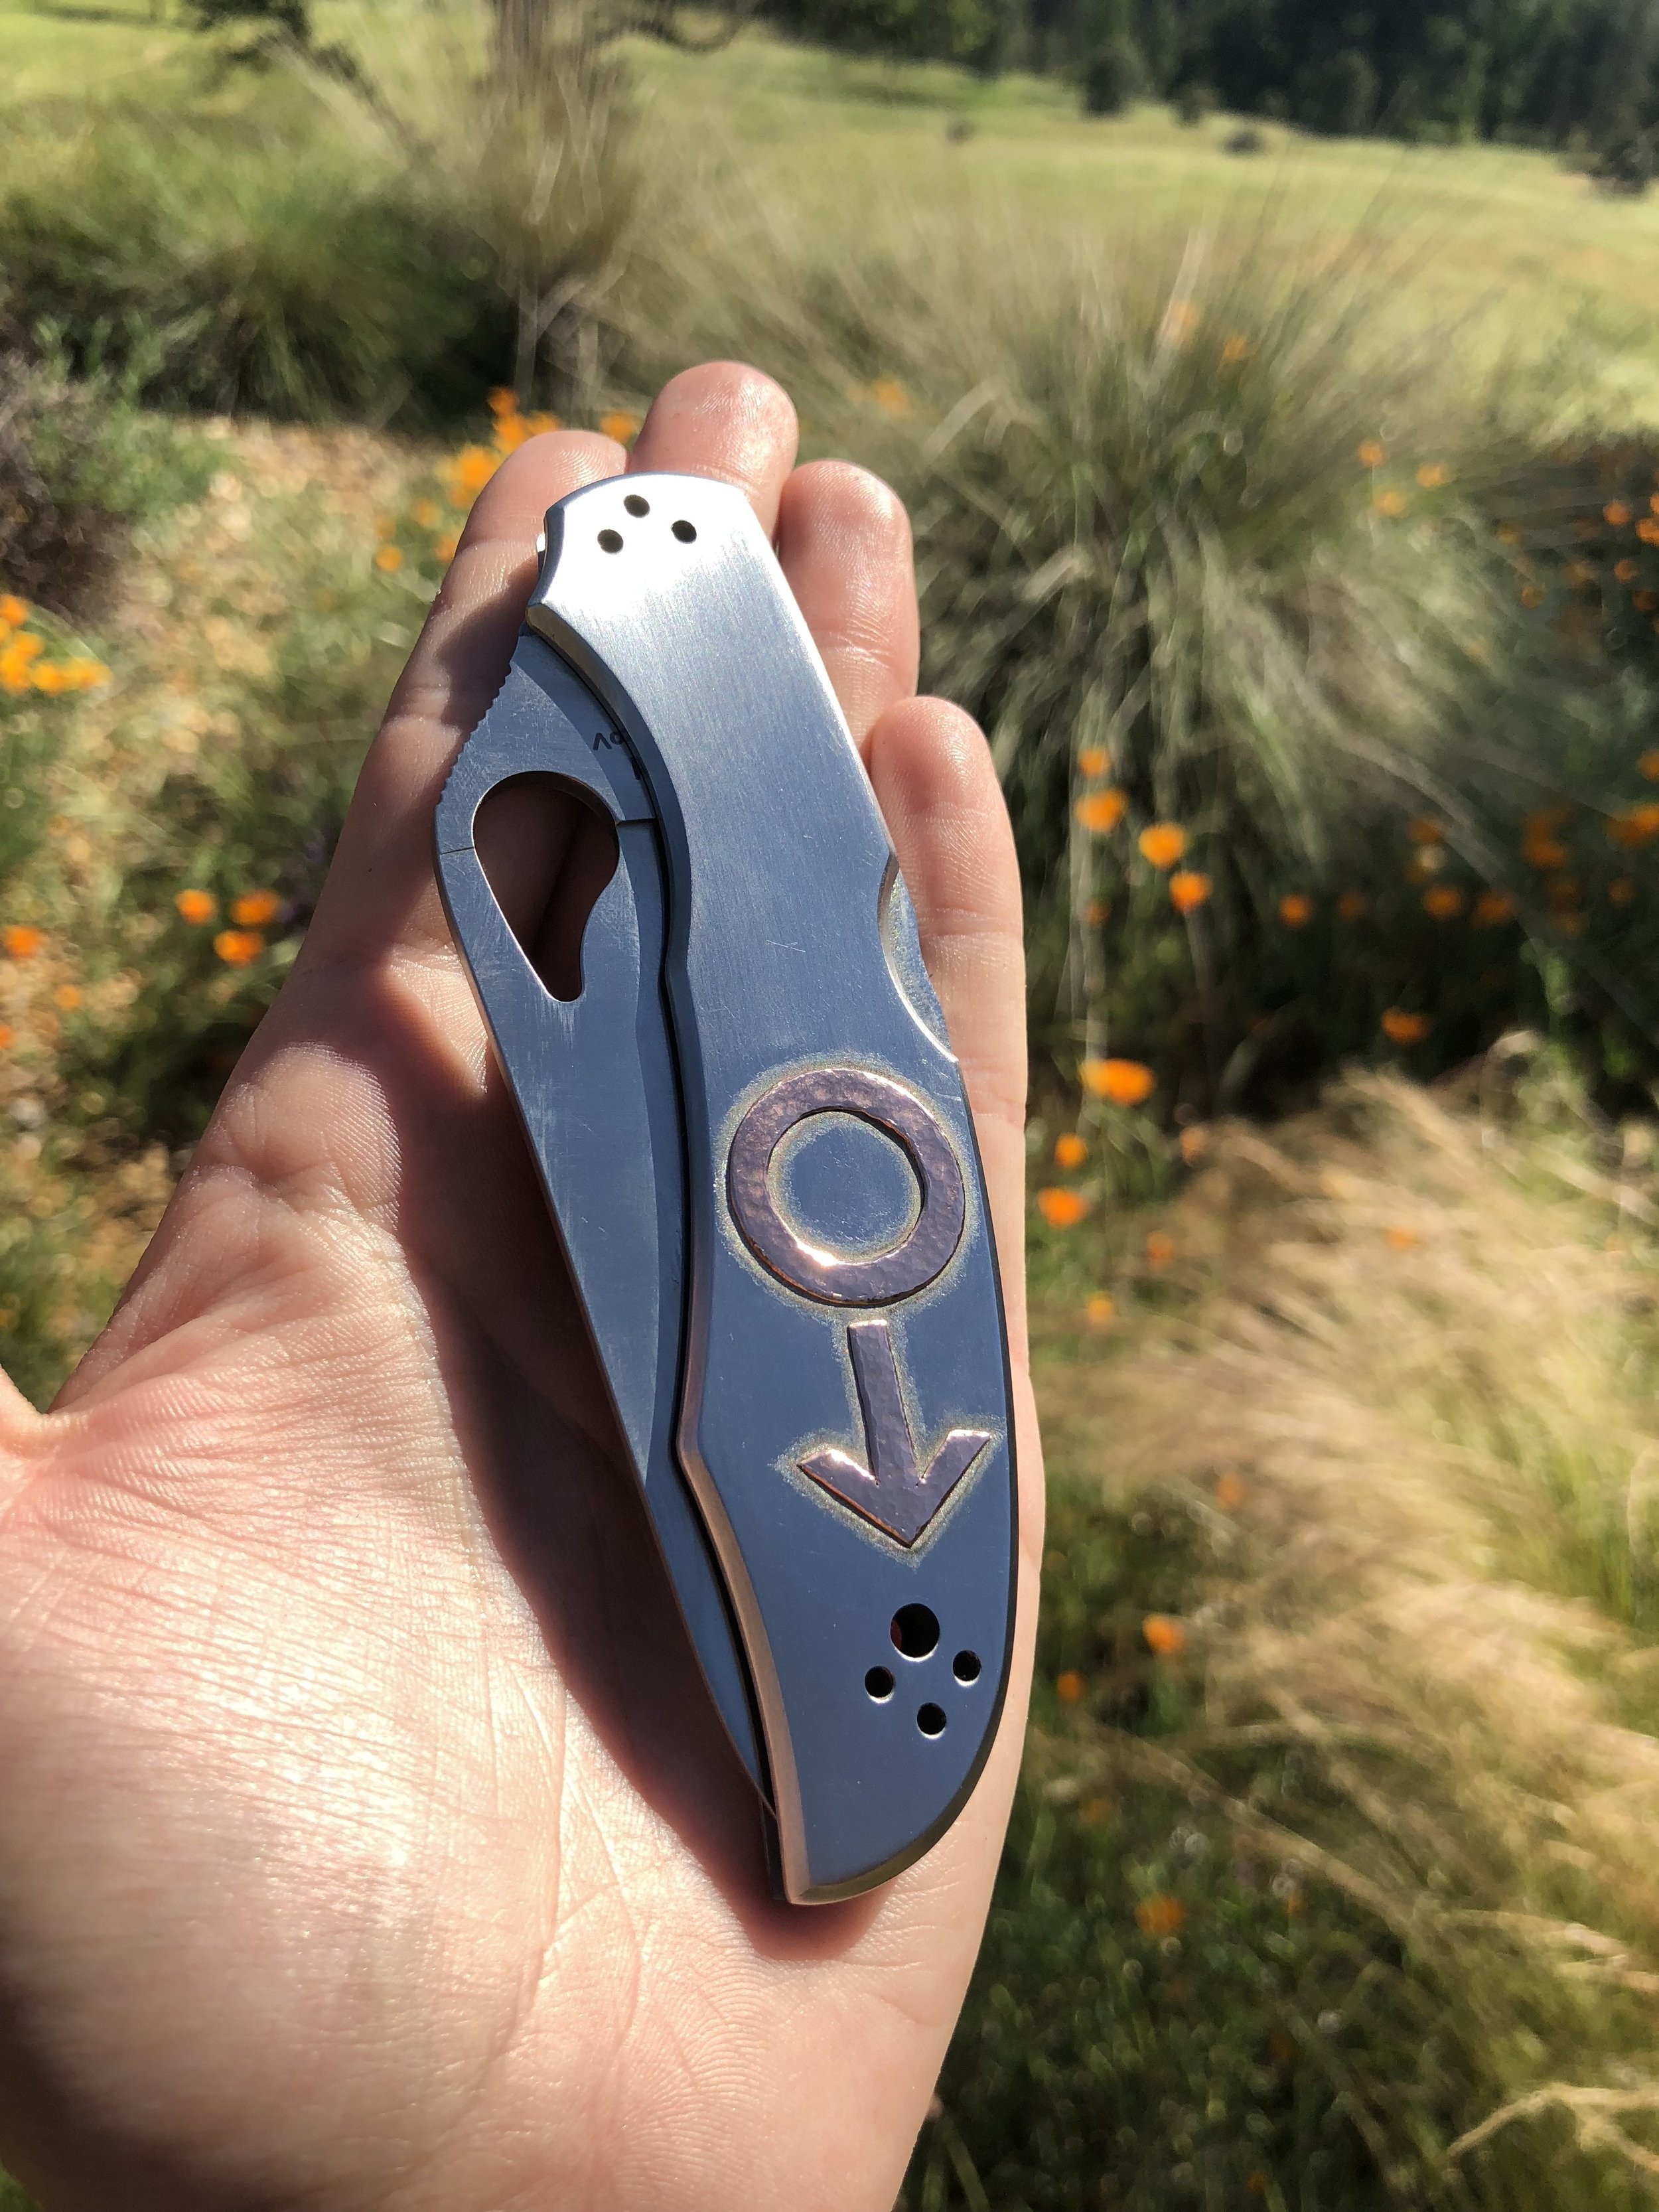
After the second and third knives I did in this style I have the technique down pat and it's at an enjoyable pace. I really love this look and the process of creating it. A little hammer and chisel work, a dash of jewelers saw, some fine detailing and viola! This style looks great for ranch brands, as there's something undeniable about the culture of the great American "west" and ranching in general that copper tones, and rustic textures seem to compliment.
If you're reading this blog and are interested in commissioning a hammered copper design for yourself or a loved one, please reference COPPERBLOG in the checkout process for free shipping. You can visit my Shop section, to purchase a Byrd knife with a brand or logo, or work with me on your specifics and I'll set up a custom order link for you after chatting about your project. You can contact me at melissa@melissamstudios.com with any questions or ideas. Since the year is flying by and we're in to August already I like to remind my clients that due to the time consuming nature of hand work, my Holiday orders schedule typically causes me to close my books to holiday orders by mid-late October, so get your requests in sooner than later! Last year, I had to stop taking additional orders in September in order to ship all projects by their deadlines. There is always the option of gift certificates as well, which I honor for any items I list in my shop, or towards custom orders as well.
Thanks for reading and for your interest in my work!